 FreeUpDisk
How to Check Mac Storage: Every Way to See What's Using Space
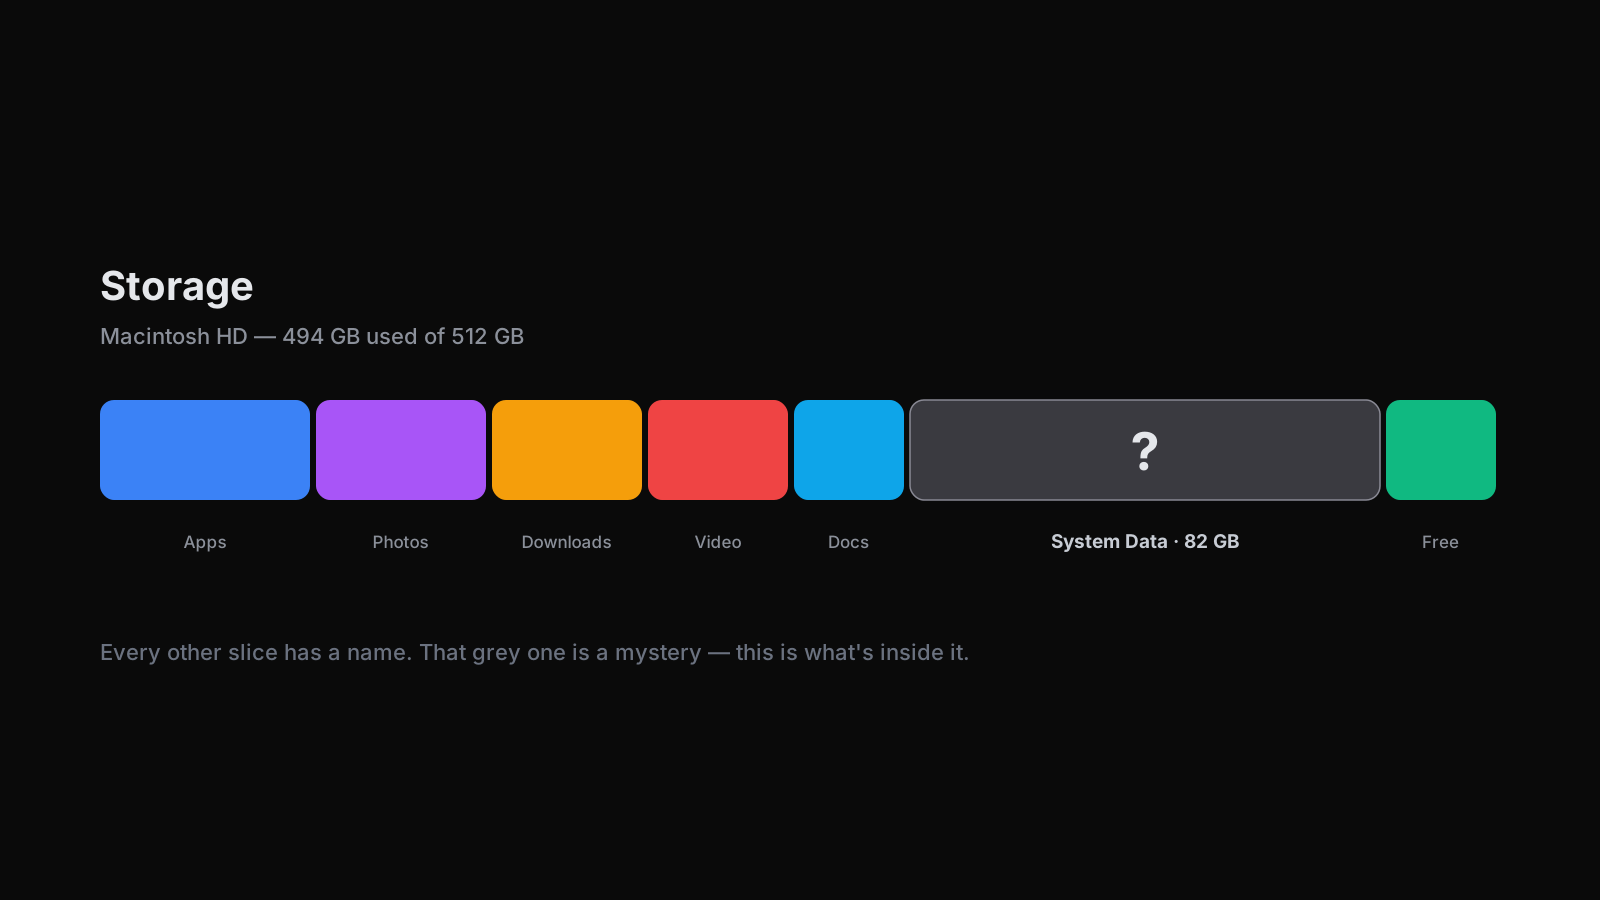
If you want to see how much storage your Mac has left and what is eating it, macOS gives you several ways to check, each showing a slightly different view. Here is every built-in method, what each one actually tells you, and how to see your storage down to individual files when the built-in screens stop short.
How to check storage on your Mac
To check storage on your Mac, open the Apple menu, choose System Settings, click General, then click Storage. You will see a colored bar of used and available space, split into categories like Applications, Photos, Messages, and System Data. That is the fastest method. Finder, Disk Utility, and Terminal give you other angles when you need them.
Method 1: System Settings, Storage
This is the main one. Open the Apple menu, then System Settings, then General, then Storage. Give the bar a few seconds to finish calculating, then hover a category to see its size.
What it shows: how much of your disk is used, how much is free, and a category breakdown. Some categories, like Applications and Documents, have a small (i) or More Info button that lists the largest items inside them, which is the closest the built-in tool gets to file-level detail.
Its limit: it shows category totals, not the individual files driving them. It will tell you System Data is 60 GB. It will not tell you that 30 GB of that is downloaded screensaver videos.
Method 2: About This Mac
For a quick glance, click the Apple menu and choose About This Mac. Click More Info, then scroll down and click Storage Settings, which opens the same Storage screen as Method 1. On older versions of macOS, About This Mac had its own Storage tab with the bar chart directly. Use this when you just want the number fast.
Method 3: Finder, Get Info and the status bar
Finder is the quickest way to check a single drive or folder. Open a Finder window, then in the sidebar right-click your drive, usually Macintosh HD, and choose Get Info. The General section lists Capacity, Used, and Available for the whole drive. If the drive is not in your sidebar, press Shift-Command-C to open Computer and right-click it there, or add it under Finder, then Settings, then Sidebar.
For any folder, select it and press Command-I to see its size in the Get Info window. You can also turn on View, then Show Status Bar, and Finder shows the free space on the current drive along the bottom as you browse. This is handy for checking one folder without opening Settings.
Method 4: Disk Utility
Disk Utility gives you the true whole-volume picture. Open it from Applications, then Utilities, or search for it with Spotlight. Select your drive in the left column, and the bar at the top shows used and free space for the entire volume, including space the category view rolls into System Data.
Use Disk Utility when the numbers in Settings look off, or when you want the raw free space on the disk without the category breakdown. It is also where you check a drive's health, though that is a separate job from storage.
Method 5: Terminal, for a fast text readout
If you are comfortable in Terminal, two commands cover most needs. Open Terminal from Applications, then Utilities.
df -hlists every mounted drive with used and available space in human-readable units. Look for the line for/System/Volumes/Dataor/for your main disk.du -sh *run inside a folder prints the size of each item in it, the fastest way to find the one subfolder that is large. Note that*skips hidden folders, so run it in visible folders like Downloads or Movies where the big files usually are.
Terminal is optional. It shows the same underlying numbers as the graphical tools, just faster and without clicking, and it is the power-user way to hunt down a big folder.
What the storage numbers actually mean
A few things trip people up when they read these screens:
Used plus available may not equal your full disk cleanly. macOS keeps purgeable space, files it can delete the instant you need the room, and counts it in ways that make the math look off. This is normal.
System Data is the confusing one. It is the catch-all bucket for caches, logs, Time Machine local snapshots, and purgeable files, and it routinely runs into the tens of gigabytes. A large number there is usually macOS holding recoverable files, not a problem. For the full breakdown of what is inside it and what is safe to clear, see what System Data on Mac actually is.
Aim for roughly 10 percent free. macOS uses free space for swap, caches, and updates, so keep some headroom rather than running to zero.
See what's using space, file by file
Every built-in method above stops at the same place: it tells you a category is large, but not which files inside it. That is fine for a glance, and it is exactly why people go looking for more once they see a 60 GB System Data block they cannot open.
FreeUpDisk shows your whole Mac as a Space Map, a treemap where every file and folder is a block sized to the space it uses. Instead of a category total, you see the actual files, biggest first, so the 30 GB folder is obvious at a glance. Deep Scan, an AI-powered pass, then reads the files that are hard to judge and labels each one: safe to remove, purgeable and it will come back, or leave alone.
You stay in control the whole time. The scan is read-only, so checking your storage changes nothing, and nothing is deleted without your explicit OK. Once you can see what is using space, cleaning it up is the easy part. You can see how the Space Map works, or try FreeUpDisk and be among the first to map your Mac when it launches.
Frequently asked questions
How do I check storage on my Mac?
Open the Apple menu, choose System Settings, click General, then click Storage. You will see a bar showing used and available space, broken down into Applications, Photos, Messages, and System Data. On older macOS versions the path is About This Mac, then Storage.
How do I see what is taking up space on my Mac?
The Storage screen in System Settings shows which categories are largest, and clicking a category with a More Info or a small (i) button lists the biggest items inside it. For a full file-level view, use a visual storage map, because the built-in screen shows category totals rather than individual files.
How do I check disk space on a Mac in Terminal?
Open Terminal and run df -h to see used and available space on each drive in human-readable form. To find what is large inside a folder, cd into it and run du -sh * to list the size of each item. Terminal is optional; the Storage screen covers most needs.
Why doesn't my Mac storage add up, and what is System Data?
Your storage doesn't add up because a large slice of it is System Data, a catch-all bucket of caches, logs, Time Machine local snapshots, and purgeable space that macOS holds until it needs the room. It is normal for it to run into the tens of gigabytes, which is why the categories rarely sum to a tidy number.
How do I check storage on a MacBook Air or Pro?
The same way as any Mac: Apple menu, System Settings, General, Storage. The MacBook Air and Pro use the identical macOS Storage screen, so there is no separate method. Finder Get Info and Disk Utility work on them too.
How much free storage should I keep on a Mac?
Aim to keep roughly 10 percent of your disk free. macOS uses that headroom for swap, caches, and updates, and performance can suffer when you are down to your last couple of gigabytes. If a macOS update refuses to install, low free space is a common cause.
See how FreeUpDisk works
Visual treemap, instant scan, safe cleanup, all for free.
Related guides
What Is System Data on Mac? What's Inside and How to Clear It
System Data is macOS's catch-all storage bucket. See exactly what is inside it, whether it is safe to delete, and how to shrink it on your Mac safely.
ReadHow to Clean Up Mac Storage: A Safe, Step-by-Step Guide
Your Mac is full and you want it cleared safely. Here is the exact order to clean up Mac storage, biggest wins first, without deleting anything you need.
ReadHow to Free Up Disk Space on Mac When Your Storage Is Full
Your Mac disk is full. Here is how to free up space fast, biggest wins first, from large media and old backups to System Data, without deleting anything you need.
Read